
Get started today
Share your details and we’ll get back to you shortly.
Our flexible 2-week on-site evaluation allows you to choose your audio with complete confidence.
Get startedSteps may vary for international orders.

Receive your system and get up and running in minutes.

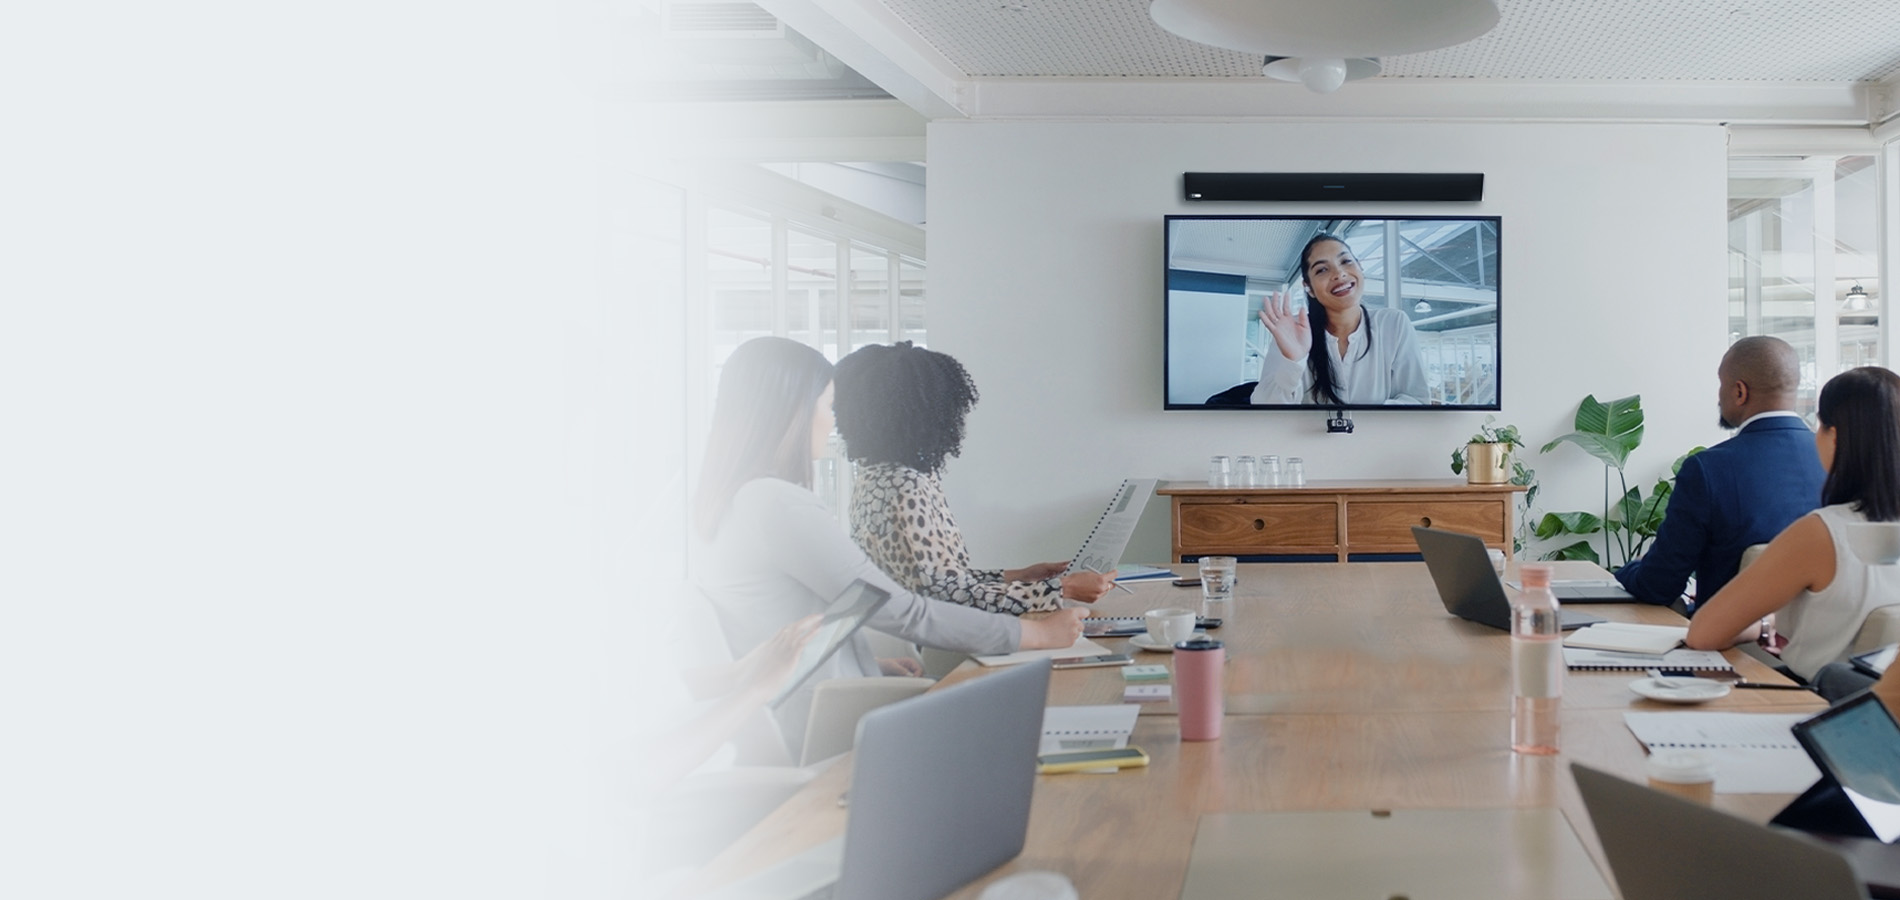
Try it in a range of meeting and learning spaces and scenarios.

Love it? Get sent a fresh unit.
Pass? Send it back.
You’ve done your research. You’ve heard a demo. But nothing beats experiencing one of our systems in your spaces and for your use cases. Here’s the deal:
No upfront payment is required. Shipping is on us.
You receive a simple kit that’s easy to move from space to space.
You get a flexible 2-week trial to experience the audio system with your team.
Hi, Adrian with Nureva here. And today, I’m going to take you through the steps required to get you up and running in minutes for your ultimate test-drive of the Nureva® pro series audio conferencing system. First: Let’s take you through the components. You’ve got your stand and your backboard with a pre-attached mounting bracket with a complete HDL310 audio conferencing system, which includes the integrated microphone and speaker bar, the Nureva connect module and the associated cables. To start, we set up the stand and the backboard. You can see I’ve already got the stand ready to go. Simply align the pre-attached mounting plate to the post and tighten the nut on the back. Next, we take our integrated microphone and speaker bar and align the keyholes on the back to the pre-attached screws on the backboard. Thread the included CAT6 cable through the hole in the backboard and connect it to the open port. Now that our HDL is mounted and our cable is connected, we’re ready to loosen the middle nut and let the bar raise itself to its maximum height. Now that your HDL310 audio conferencing system is at its maximum testing height, the final step is to plug in the CAT6 to the connect module along with the rest of the cables, and you’re ready to start your ultimate test-drive.
You get everything you need to try Nureva® audio in a large space: tripod stand, backboard with mounting bracket, HDL310 mic and speaker bar, connect module, remote control, power supply and cable, USB cable, CAT6 cable.
Two weeks is the typical evaluation period. But let us know if you need more time.
No. Inbound and return shipping are on us.
Simple instructions for setup are provided, but we’re available to jump on a call to walk you through it and get you connected. We can also help you set up remote management. Contact us.
We’ll help you reset the unit, disconnect it and pack it up for return to us. If you decide to proceed with a purchase, we’ll help you get a quote and help with permanent installation.