Posted by Nureva on Aug 7, 2026, 4:38:35 PM
Setting up a traditional conference room audio system can take days, involve multiple vendors and require a certified AV integrator just to get it sounding right. However, a modern integrated system can be on the wall and running in under an hour, with it being installed by the same IT team that manages the rest of the office. The difference comes down to how the system was designed and who it was designed for.
If you’re an IT manager responsible for equipping meeting rooms, classrooms and hybrid workspaces, the deployment process likely spans hardware selection, physical installation, network configuration, software enrollment and ongoing device management. How complex that process might get depends almost entirely on the type of system you choose. At scale, when you’re equipping dozens of rooms across multiple sites, that complexity multiplies fast.
TL;DR: How to set up an audio conference system
Setting up a professional audio conference system can take days of work or under an hour of IT-managed installation, depending on the system you choose.
- Traditional multicomponent AV setups usually require a certified integrator, DSP programming, manual acoustic calibration and a service contract for ongoing maintenance.
- Integrated systems like the Nureva® HDL310 and HDL410 audio conferencing solutions can be installed in as little as 30 or 60 minutes, with no special skills, tools or ceiling work required.
- Nureva Console provides remote management and monitoring of all enrolled devices from a single cloud-based dashboard, with no on-site visits needed for routine management.
For IT teams equipping meeting rooms, classrooms and hybrid workspaces, Nureva audio systems deliver full-room mic coverage and plug and play simplicity without the cost or complexity of traditional pro AV.
What is an audio conference system?
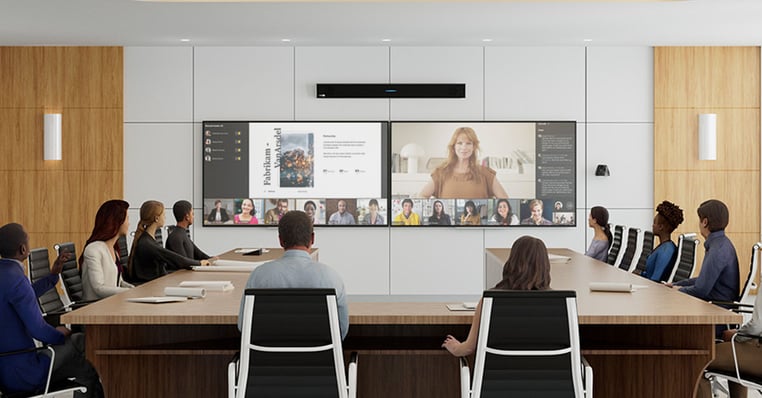
An audio conference system is a hardware-and-software solution that captures, processes and transmits people’s voices in a meeting room, classroom or other collaborative space, enabling in-room participants to communicate clearly with remote attendees. At the basic end, it can mean a single USB speakerphone on a table. At the professional end, it can mean a full-room solution: integrated microphone arrays, speaker systems, a digital signal processor (DSP) or processing unit, network connectivity and a management interface, all working together to deliver consistent audio quality across the entire space.
These systems vastly differ, especially from the perspective of IT teams. A tabletop speakerphone may work in a small huddle room, but it falls short in larger spaces where participants sit far from the device or move around. Insufficient mic pickup in larger spaces can cause big challenges during hybrid meetings where remote attendees need to hear everyone clearly. Full-room audio conferencing systems are built for these environments, and their design determines how hard they are to set up and maintain.
What equipment do you need for an audio conference system?
A professional audio conferencing system for a large room typically requires the following components:
-
Microphones: The pickup layer of the system. Options include tabletop microphone pods, ceiling-mounted beamforming arrays or integrated microphone and speaker bars. The choice affects coverage area, installation complexity and whether dead zones exist in the room.
- Speakers/speaker bars: The hardware that delivers audio from remote participants to in-room attendees. Integrated systems combine microphones and speakers in their single wall-mounted bars, reducing component count and cabling.
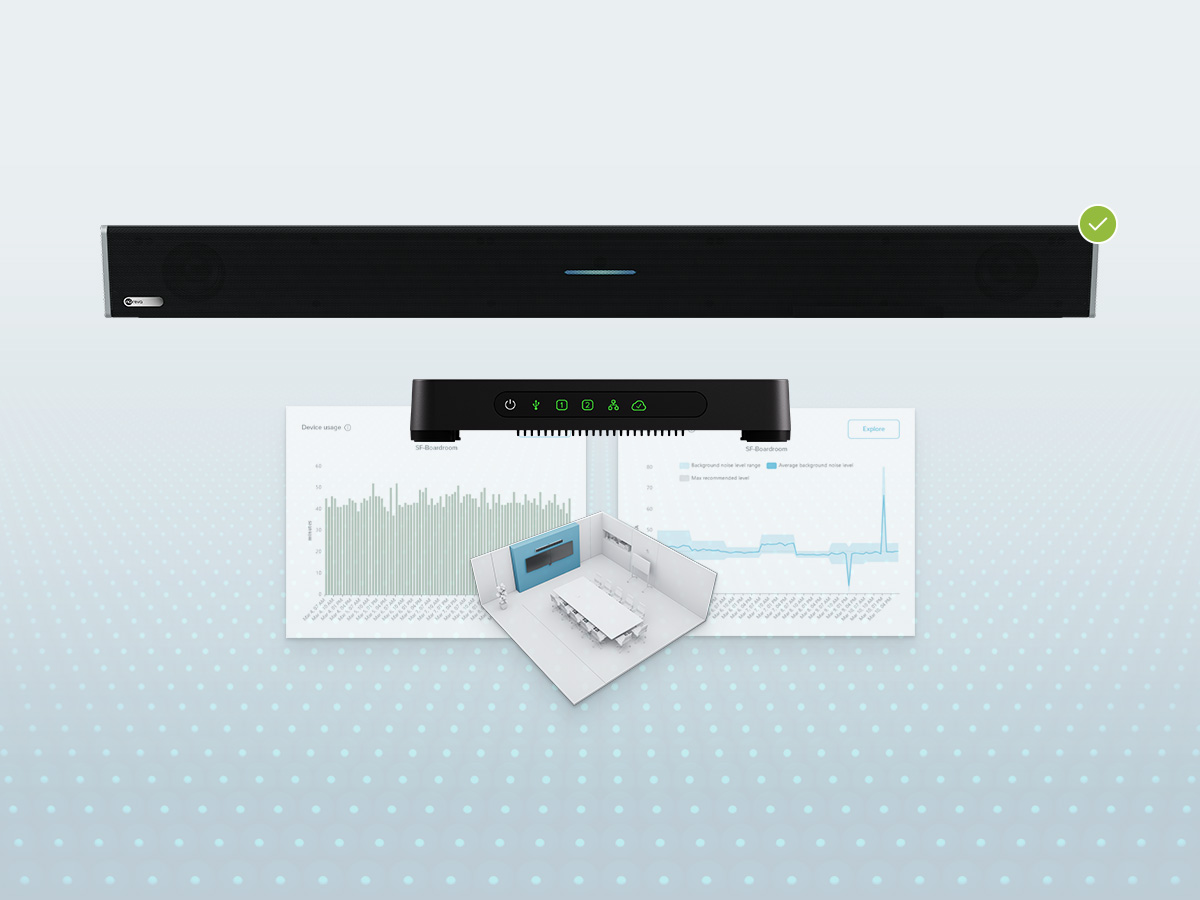
- Processing unit/connect module: The system’s processing hub. In traditional setups, this is a separate DSP requiring specialist programming. In integrated systems like in Nureva’s HDL and HDX series, processing is built into the connect module or system hub, with no external DSP required.
- Network connectivity: A CAT5e or CAT6 Ethernet connection is required for cloud-based management and monitoring.
- UC&C platform compatibility: The system must connect to your conferencing platform, such as Microsoft® Teams, Zoom, Google Meet™ or Cisco Webex®, typically via USB to a room computer or collaboration hub.
- Management interface: A software platform for setup, configuration and ongoing device management. Cloud-based platforms allow IT teams to manage multiple rooms remotely from a single dashboard.
Traditional setups require IT teams to source and configure each component separately and rely on a certified integrator to bring everything together. Integrated systems consolidate microphones, speakers and processing, reducing the component count, cabling requirements and installation time significantly.
| Traditional multicomponent setup | Nureva integrated system | |
| Microphones | Separate ceiling arrays or tabletop pods from one or more vendors | Built into a wall-mounted component (ceiling T-bar mounting optional for HDX microphone pod) |
| Speakers | Separate loudspeaker system, often ceiling mounted | Built into a wall-mounted bar |
| DSP/processing | Separate DSP unit requiring specialist programming | Built into the connect module or system hub, with no programming required |
| Amplifier | Separate amplifier unit | Integrated, so no separate amplifier needed |
| Installation | Certified AV integrator typically required | IT manager can install, with no special skills required |
| Calibration | Manual acoustic calibration using specialist equipment | Continuous autocalibration after installation |
| Management | May require on-site technician visits or a service contract | Remote, cloud-based management with Nureva Console |
How to set up a professional audio conference system
Setting up a professional audio conference system follows the same core sequence regardless of the type of solution: assess the space, select the right hardware, install and cable the components, connect to the network and UC&C platform, and configure management software. Where systems differ significantly is in how much expertise, time and coordination each step requires.
Traditional multicomponent AV setup:
- Engage a certified AV integrator to conduct a site survey and produce a system design
- Source microphone arrays, DSPs, amplifiers and speakers from multiple vendors
- Schedule installation, which may require taking the room offline for multiple days
- Run cabling through walls and ceilings, often involving trades
- Mount and wire discrete components: microphone arrays, amplifiers, DSP units and speaker systems
- Program the DSP for signal routing, gain structure and echo cancellation — requires specialist knowledge
- Perform manual acoustic calibration using measurement equipment, typically taking several hours
- Test the system and troubleshoot any issues before handover
- Train IT staff on how to operate and manage the system
- Arrange a service contract or recurring technician visits for updates and ongoing maintenance
Nureva integrated system:
- Measure the room and match it to the right Nureva system using published room size guidelines
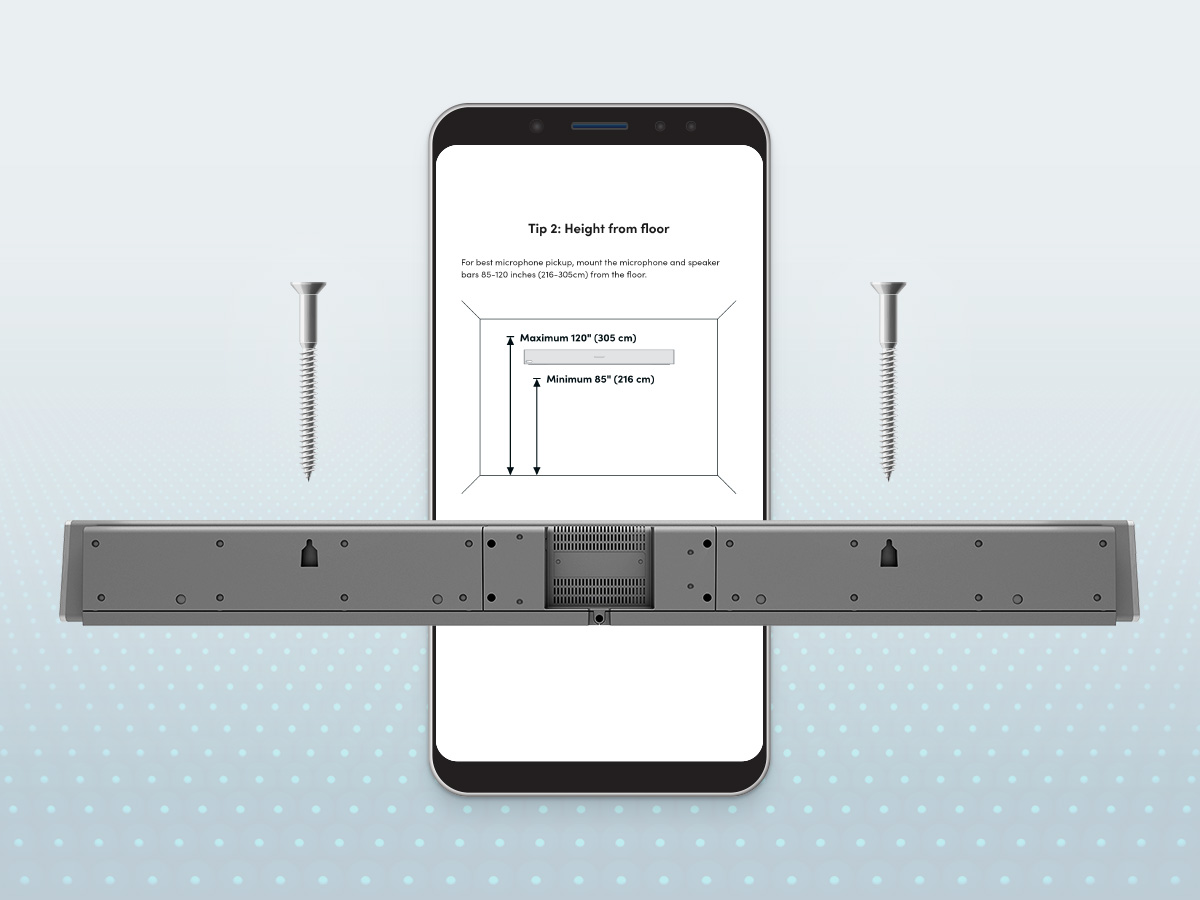
- Use the acoustic check tool in the included Nureva App to determine the ideal location for the components
- Mount one or two HDL microphone and speaker bars (or two or four HDX audio bars) on the wall (ceiling T-bar mounting is optional for HDX microphone pods) — no special skills, tools or ceiling work required
- Connect the system to the network with an Ethernet cable
- Open the Nureva App for device setup
- Enroll the device into Nureva Console using the enrollment code on the connect module or system hub
- Allow the system to run its automatic calibration sequence
- Set as the default audio device in Microsoft Teams, Zoom or Cisco Webex
For IT managers carrying AV responsibilities alongside a broader workload, the difference is significant. Traditional deployments demand specialist coordination at every step. Nureva systems are designed so the same IT team that manages the network can select, install and manage the audio system without outside help.
Audio conferencing equipment checklist for a new office
Setting up a new office with traditional multicomponent audio conferencing systems is often a more intensive process than most IT teams anticipate. Nureva audio makes it much simpler.
See the checklists below to compare what each approach requires.
Traditional multicomponent AV setup
- Engage a certified AV integrator to conduct a site survey
- Produce a system design and component specification
- Source microphones, DSP, amplifier and speakers from multiple vendors
- Procure and schedule delivery of all components
- Schedule installation, allowing for multiday room downtime
- Run cabling through walls and ceilings, often involving trades
- Mount and wire discrete components: microphone arrays, DSP unit, amplifier and speaker system
- Program the DSP for signal routing, gain structure and echo cancellation
- Perform manual acoustic calibration using specialist measurement equipment
- Test the full system and troubleshoot before handover
- Configure UC&C platform integration
- Train IT staff on system operation and management
- Arrange a service contract for ongoing maintenance and updates
Nureva integrated system
- Measure the room and select the right Nureva system for the space
- Use the acoustic check tool to determine where to place the components
- Mount one or two HDL microphone and speaker bars (or two or four HDX audio bars) on the wall (ceiling T-bar mounting is optional for HDX microphone pods) — no special skills or tools required
- Connect Ethernet cables between the components, plus one CAT5e cable to the network
- Open the Nureva App for device setup
- Enroll the device into Nureva Console
- Allow the automatic calibration sequence to complete
- Set as the default audio device in Microsoft Teams, Zoom or Cisco Webex
Why Nureva audio systems are easier to set up and manage
For IT teams managing AV alongside a broader technology workload, setup complexity and ongoing maintenance overhead are factors just as important as audio performance. Traditional pro AV systems demand specialist involvement at every stage, from site surveys and DSP programming to manual calibration and recurring service visits. That model works for organizations with dedicated AV departments, but it creates a significant resource burden for everyone else.
Nureva audio systems are designed to remove that burden. The HDL310 and HDL410 systems can be installed in as little as 30 or 60 minutes, with no special skills or tools required. Microphone Mist™ technology automatically fills the room with thousands of virtual microphones, so there are no dead zones and no manual adjustments needed when room layouts change. With Nureva Console, IT teams can monitor, update and configure every enrolled device remotely from a single dashboard, with no on-site visits required for routine management.
For larger and more complex spaces, the HDX series brings the same plug and play simplicity to rooms up to 40' x 60' (12.2 x 18.3 m), with a modular architecture that adjusts to the room without requiring specialist design or installation.
Hear the difference for yourself. Book a free 15-minute online demo and ask about taking a system for a test-drive in your own space.

